On a Shopify thank you page, add the things a buyer needs next (delivery and order status), then at most one relevant offer and one short survey question, and skip anything that repeats what the checkout already did. Since August 26, 2026, every non-Plus store is on the new thank you and order status pages, where you add content as app blocks in the checkout and accounts editor and track events with pixels instead of additional scripts. Apps that customize these two pages work on all plans; customization of the checkout steps themselves is Plus only.
Key takeaways
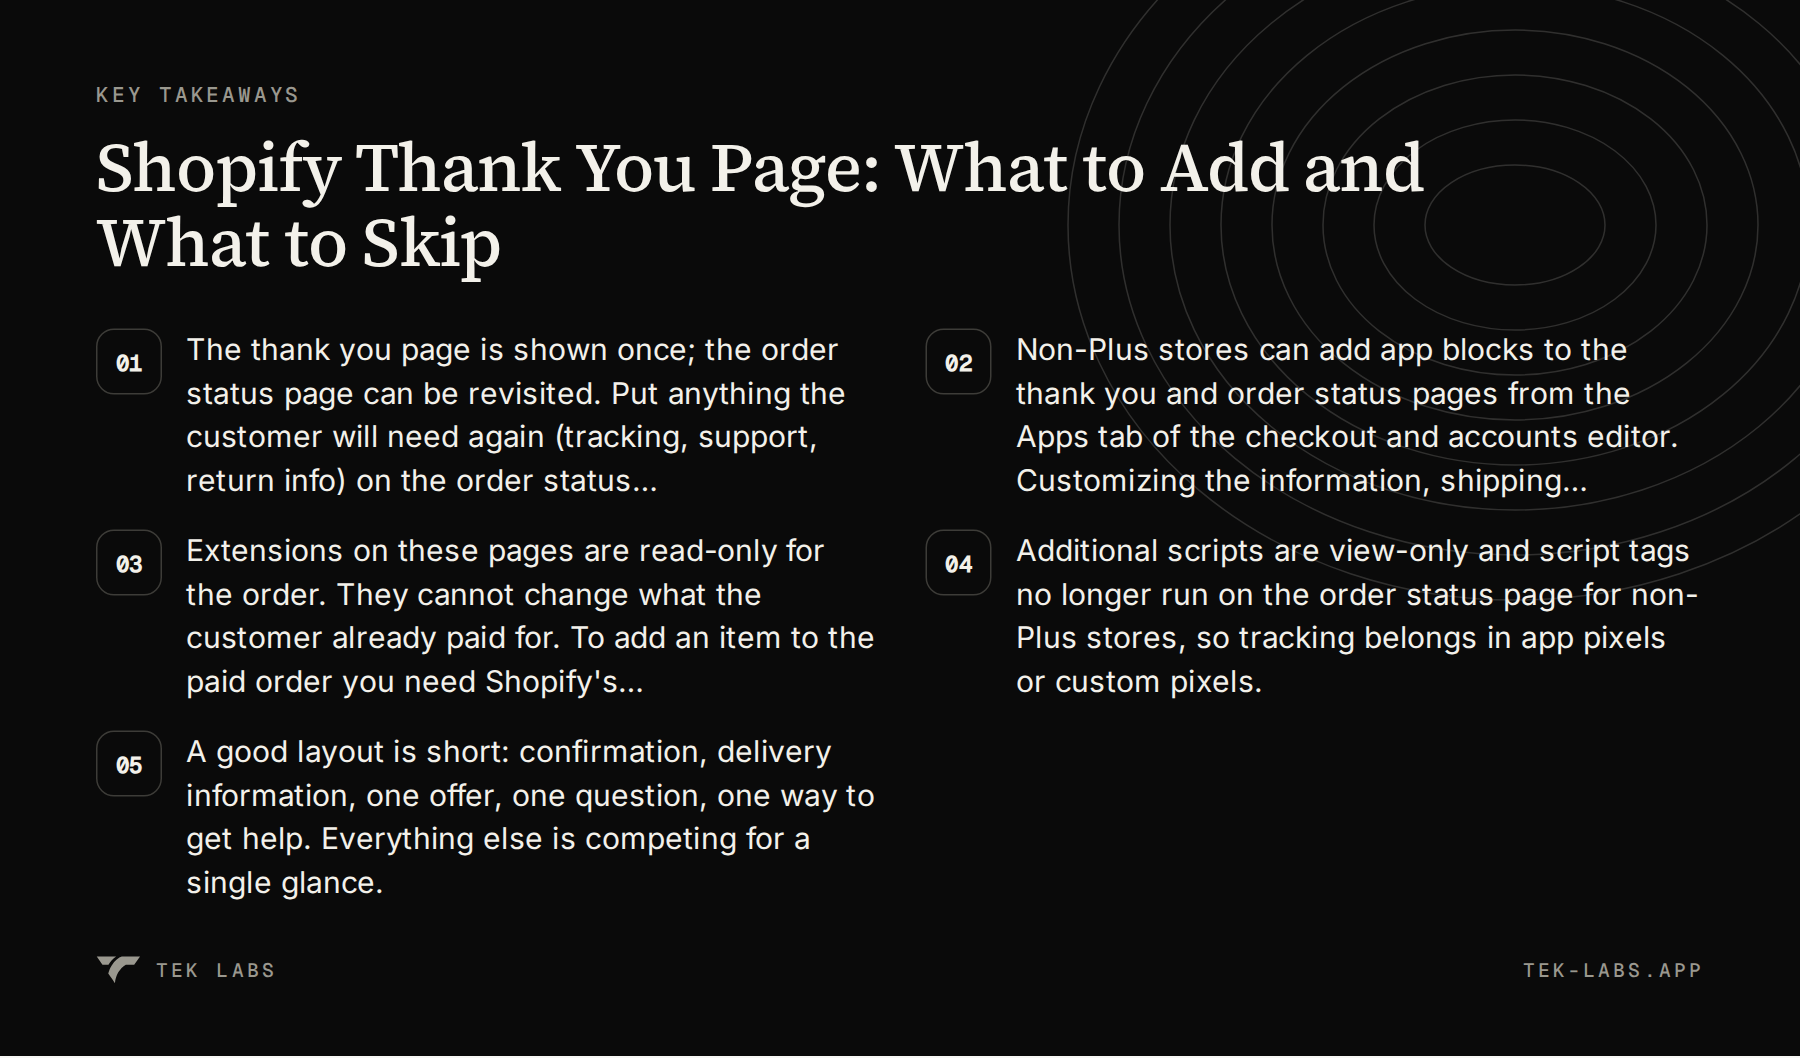
- The thank you page is shown once; the order status page can be revisited. Put anything the customer will need again (tracking, support, return info) on the order status page and in email, not only on the thank you page.
- Non-Plus stores can add app blocks to the thank you and order status pages from the Apps tab of the checkout and accounts editor. Customizing the information, shipping and payment steps needs Plus.
- Extensions on these pages are read-only for the order. They cannot change what the customer already paid for. To add an item to the paid order you need Shopify’s separate post-purchase page, which has its own limits.
- Additional scripts are view-only and script tags no longer run on the order status page for non-Plus stores, so tracking belongs in app pixels or custom pixels.
- A good layout is short: confirmation, delivery information, one offer, one question, one way to get help. Everything else is competing for a single glance.
What changed on the thank you page, and why it matters now
If you last customized your thank you page in the old `checkout.liquid` era, most of what you remember no longer applies. Shopify’s help center now says that [August 26, 2026 was the deadline for stores on a non-Plus plan to upgrade their existing Thank you and Order status pages to the new version](https://help.shopify.com/en/manual/checkout-settings/customize-checkout-configurations/checkout-upgrade-guide). Stores on the Pause and Build plan are upgraded automatically. The same guide warns that when you upgrade, existing pages and any customizations on them are replaced with the new versions, and it tells you to recreate customizations with blocks and web pixels.
Three practical facts follow from Shopify’s documentation:
- Additional scripts are read-only. The guide states that [as of August 28, 2025, the additional scripts section in Checkout settings is view-only](https://help.shopify.com/en/manual/checkout-settings/customize-checkout-configurations/checkout-upgrade-guide). You can still read what is there, which is useful for an audit, but you cannot edit it.
- Order status script tags are done for everyone. Shopify’s deprecation page gives the schedule: apps could not create script tags with an order status scope after February 1, 2025; [script tags stopped running on the Order status page for Plus stores on August 28, 2025, and for all other stores on August 26, 2026](https://shopify.dev/docs/apps/build/online-store/script-tag-deprecation/order-status). Replacements are customer account UI extensions for content and web pixels for tracking.
- Blocks are the new unit. You place app blocks in the editor instead of pasting code, and the editor has a dedicated Apps tab. Shopify’s changelog announced it on October 31, 2024: the [Apps tab lets you customize and preview functionality on the Checkout, Thank you, and Order status pages using the relevant app blocks in any section of the page](https://changelog.shopify.com/posts/apps-tab-in-the-checkout-and-accounts-editor).
If you are reading this in November, the upgrade is already behind you, but the audit is not. Many stores migrated by accepting the new default pages and never rebuilt the tracking or content that lived in the old setup. The next section is a checklist for that.
What you can add today, and what needs Plus
The confusing part of Shopify’s checkout customization story is that three different surfaces get called “the checkout.” Here is how they differ.
| Surface | When the customer sees it | What you can add | Plan |
|---|---|---|---|
| — | — | — | — |
| Information, shipping and payment steps | Before payment | App blocks and extensions that change the checkout steps (for example, item upsells in checkout) | Shopify Plus only |
| Post-purchase page | After payment, before the thank you page | One app’s product offers (up to three accepted per checkout) | Not a Plus feature; extension is in beta and needs access for live stores |
| Thank you page | After the post-purchase page, shown once | App blocks, branding | Apps on all plans |
| Order status page | From the confirmation email or account, can be revisited | App blocks, announcement, branding | Apps on all plans |
The plan boundaries come straight from Shopify: the help center says [eligible apps that customize the thank you and order status pages are available on any plan, while apps that customize the information, shipping and payment pages and the Checkout Branding API are Plus only](https://help.shopify.com/en/manual/checkout-settings/checkout-extensibility). Shopify’s developer documentation says the same thing for extension targets: [checkout UI extensions for the information, shipping, and payment steps are available only on a Plus plan](https://shopify.dev/docs/api/checkout-ui-extensions), while thank you and order status targets are not restricted that way. The developer docs for post-purchase also state that [pre-purchase extensions require Plus; post-purchase extensions do not](https://shopify.dev/docs/apps/build/checkout/product-offers/post-purchase).
What a block can and cannot do
Developers build blocks against two extension targets, `purchase.thank-you` for the thank you page and `customer-account.order-status` for the order status page. Shopify’s documentation lists the content these pages are meant for: [survey requests, product reviews, upsell offers, social sharing, and download links for digital goods](https://shopify.dev/docs/apps/build/checkout/thank-you-order-status).
Two limits are worth knowing because they shape every layout decision:
- The order is not created yet on the thank you page. The docs say that [on the thank you page the order is not yet created when the extension displays, though the order id is available](https://shopify.dev/docs/apps/build/checkout/thank-you-order-status). On the order status page the order is always available.
- Extensions cannot mutate the order. The same page states that [there is no support for APIs that directly mutate an order using a UI extension](https://shopify.dev/docs/apps/build/checkout/thank-you-order-status). Extensions can make network calls to external web services, but they are read-only with respect to the order itself.
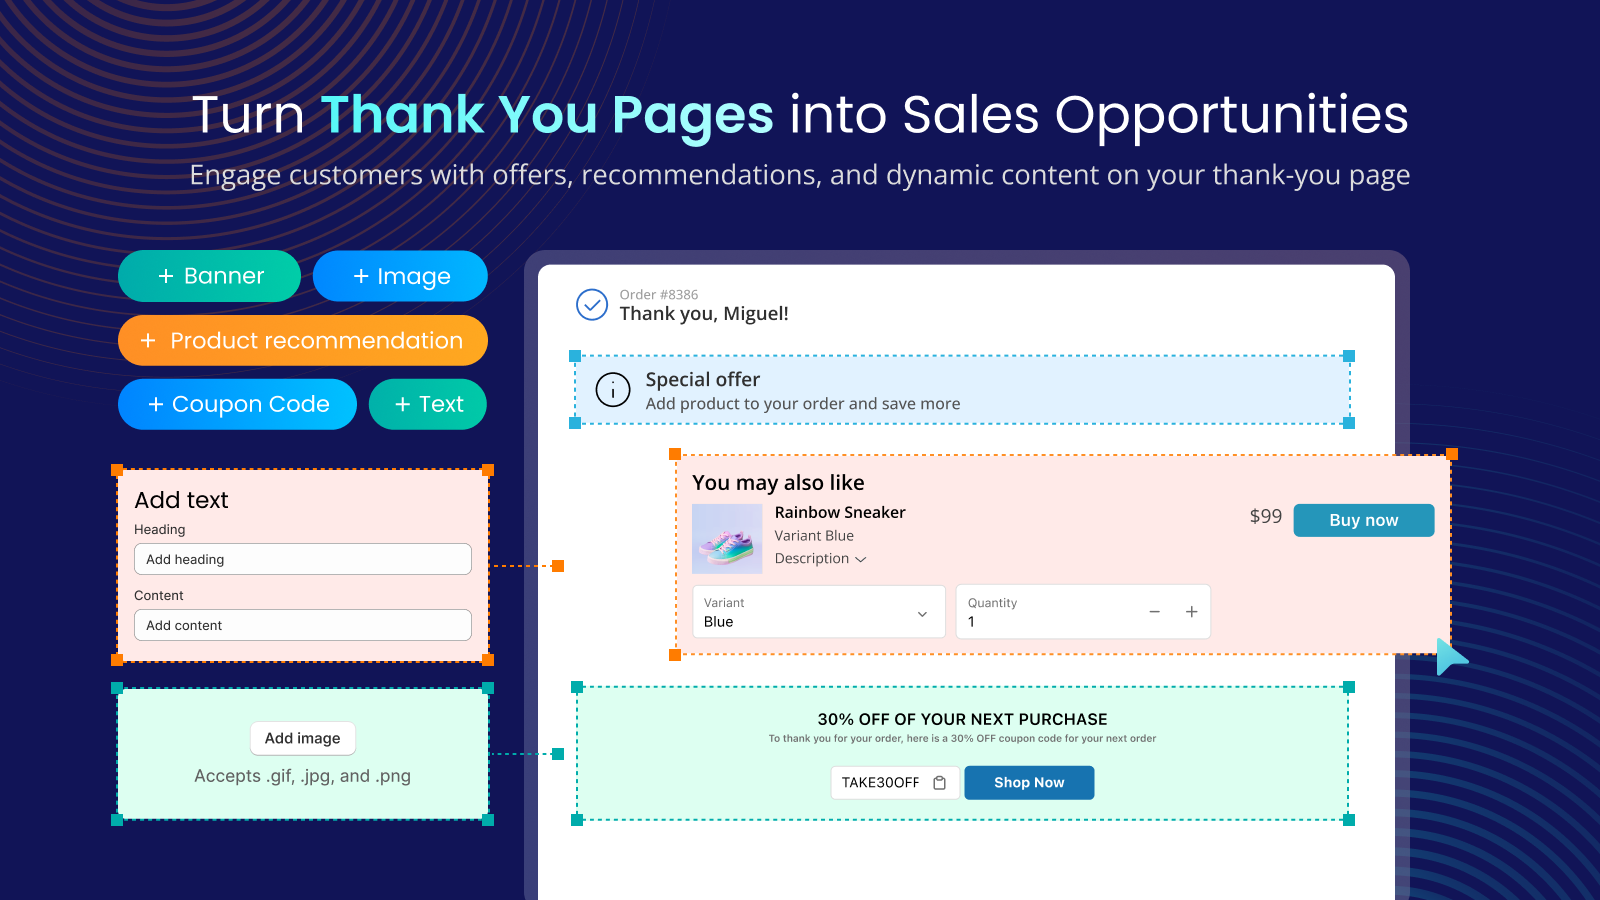
The second limit matters for upsells. A thank you page offer cannot quietly append an item to the order the customer just paid for. If the offer needs to add an item to the same order, the mechanism is the post-purchase page, where [the extension uses `applyChangeset` to update the order, adding items with an `add_variant` change](https://shopify.dev/docs/apps/build/checkout/product-offers/build-a-post-purchase-offer). If your thank you page offer sends the customer into a new cart instead, treat it as a fresh purchase with its own shipping and fee implications. Our post on [how post-purchase upsells work without Plus](https://tek-labs.app/shopify-post-purchase-upsell-without-plus/) covers the post-purchase page in detail.
Post-purchase page limits, in one list
Because the post-purchase page and the thank you page are easy to confuse, here is what Shopify’s post-purchase documentation sets out:
- The page appears [after the order is confirmed but before the thank you page](https://shopify.dev/docs/apps/build/checkout/product-offers).
- [A customer can accept a maximum of three post-purchase offers for each checkout](https://shopify.dev/docs/apps/build/checkout/product-offers/post-purchase), orders need to be $0.50 or more, and only one app can be selected for post-purchase product offers.
- The order must come through the Online Store sales channel. Wallets, installment services, gift cards and orders with no shipping address are not supported, and neither are local delivery orders, per the same page.
- The extension is in beta: it can be used without restrictions in a development store, and a live store has to request access.
- Shopify states that the post-purchase page [shouldn’t be used as a replacement for the Order status page](https://shopify.dev/docs/apps/build/checkout/product-offers).
Because wallet payments skip the post-purchase page, a store with many wallet buyers will see offers on fewer orders than total orders. Read your results against eligible orders only, not all orders.
Where each customization belongs after the upgrade
Use this table to audit what your old thank you page did and where that behavior goes now.
| What it did before | Where it goes now |
|---|---|
| — | — |
| Fired a purchase or conversion tag | App pixel or custom pixel on the `checkout_completed` event |
| Showed a banner, notice or upsell | An app block on the thank you page or order status page |
| Order status page script tag with visible content | Customer account UI extension (block or announcement) |
| Third-party pixel snippets pasted in additional scripts | The app’s own pixel, or a custom pixel you maintain |
| Download link or digital delivery message | App block with the link |
| Anything that edited the order | Not possible in an extension; use the post-purchase page or a separate flow |
Tracking: why pixels, and one trap
Shopify’s help center describes custom pixels as a way to [collect customer events on more pages of your online store, such as the checkout and post-purchase pages](https://help.shopify.com/en/manual/promoting-marketing/pixels/custom-pixels), running in a sandbox. It also puts the responsibility on you: compliance with applicable laws, consents and code security is the merchant’s job. Do not paste a full additional scripts block into a custom pixel and assume it works; the guide notes that not all pixel functionality works in the sandbox.
The trap is attribution. The `checkout_completed` event, according to the developer docs, [fires once per checkout, typically on the Thank you page, but for upsell and post-purchase flows it fires on the first upsell offer page instead](https://shopify.dev/docs/api/web-pixels-api/standard-events/checkout_completed). If the intended page fails to load, the event does not fire at all, and there is no retry. If you run a post-purchase offer, test that your ad platform still receives exactly one purchase per order and that the value matches what the customer paid before the upsell.
A layout that works: five blocks, in this order
Baymard’s public research on order confirmation says the common problems are [users struggling to verify their purchase or hanging around waiting for minutes until they can confirm they received the confirmation email](https://baymard.com/ecommerce-design-examples/101-receipt), and it frames the confirmation step as the place for “nonorder auxiliary actions.” In other words, confirmation first, extras second. The research detail is behind a paywall, so treat the following as our recommendation, built on Shopify’s documented behavior rather than a benchmark.
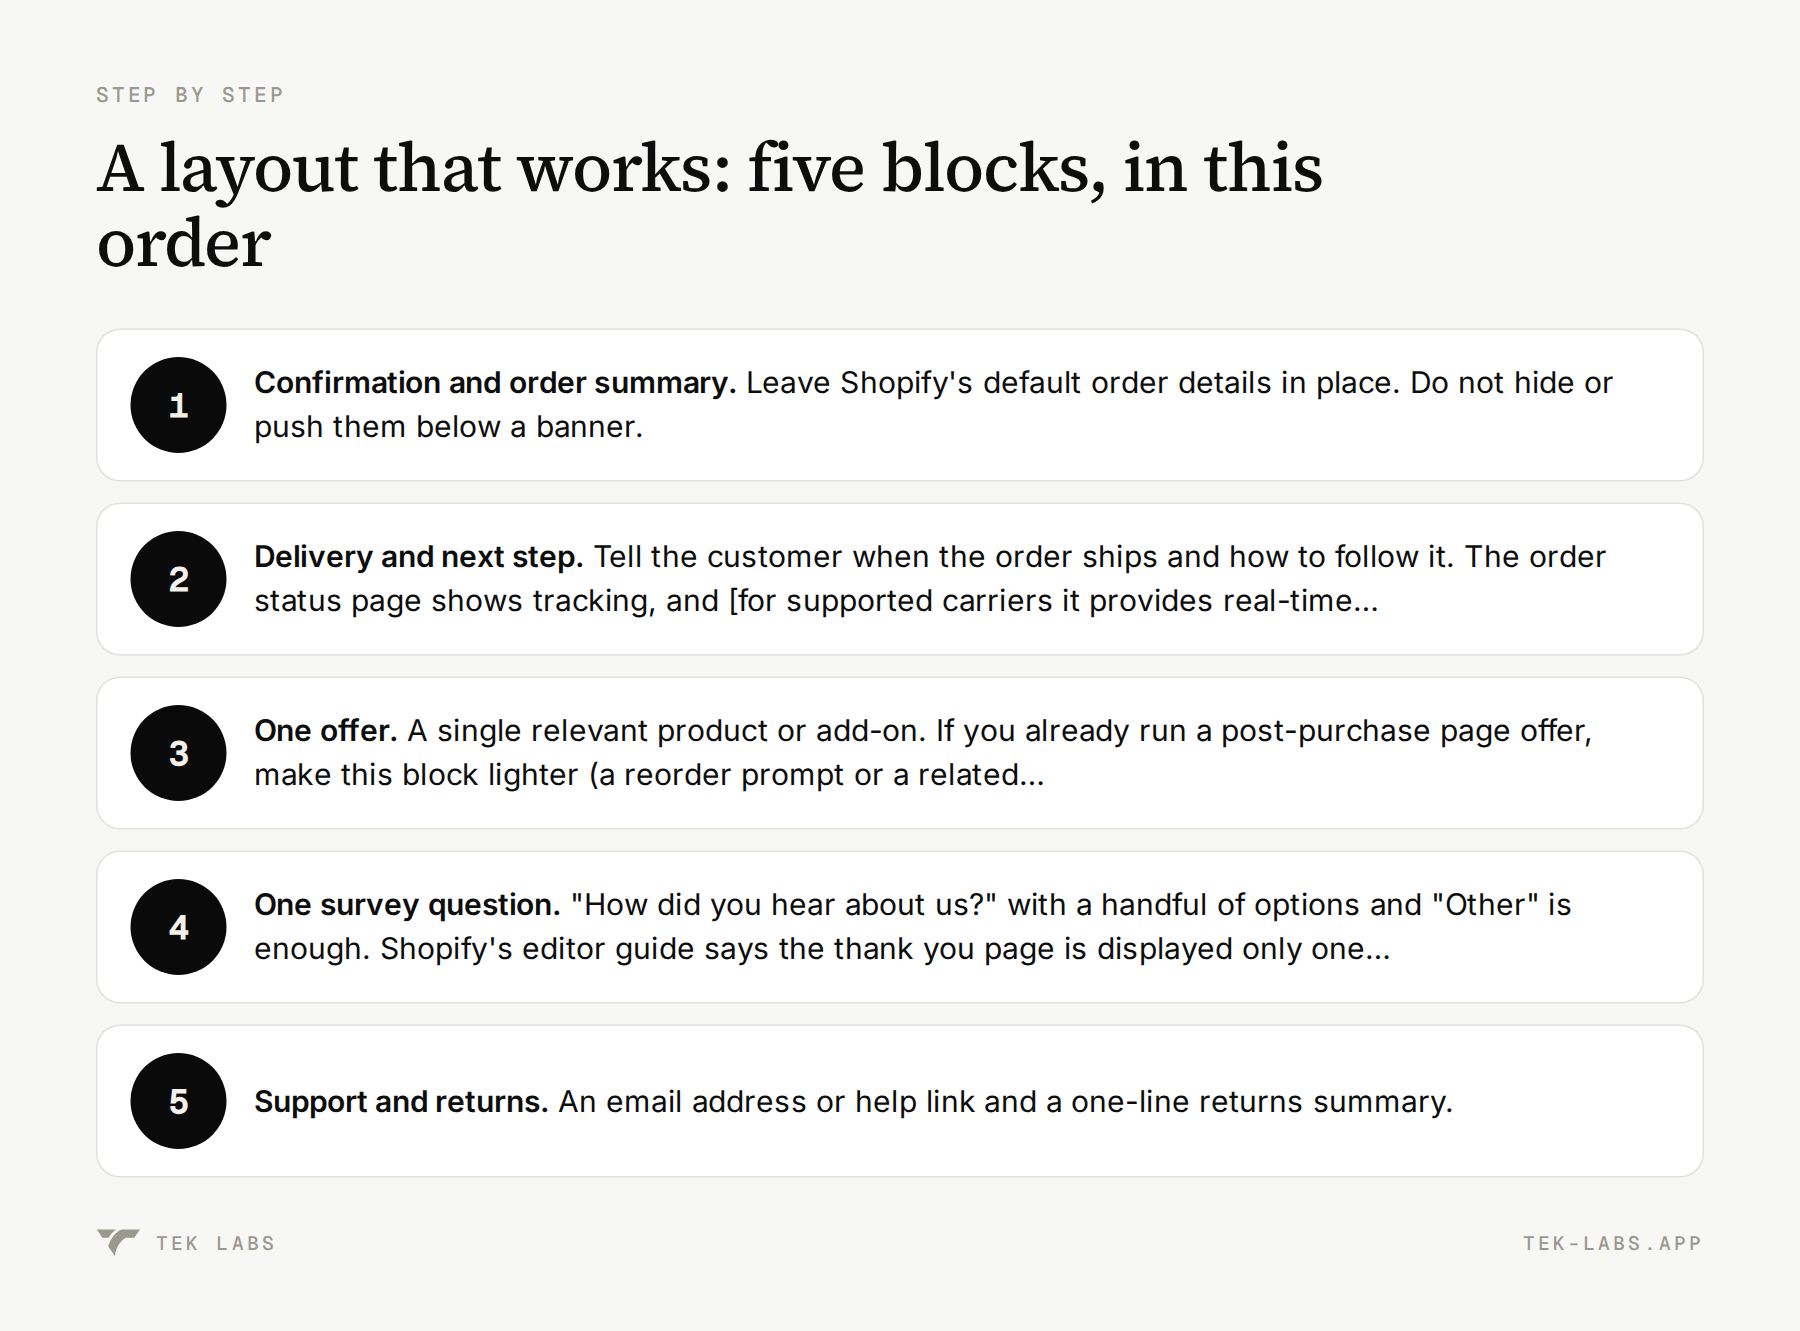
- Confirmation and order summary. Leave Shopify’s default order details in place. Do not hide or push them below a banner.
- Delivery and next step. Tell the customer when the order ships and how to follow it. The order status page shows tracking, and [for supported carriers it provides real-time shipping updates](https://help.shopify.com/en/manual/orders/status-tracking/order-status-overview). Link to it, because the thank you page itself is shown only once.
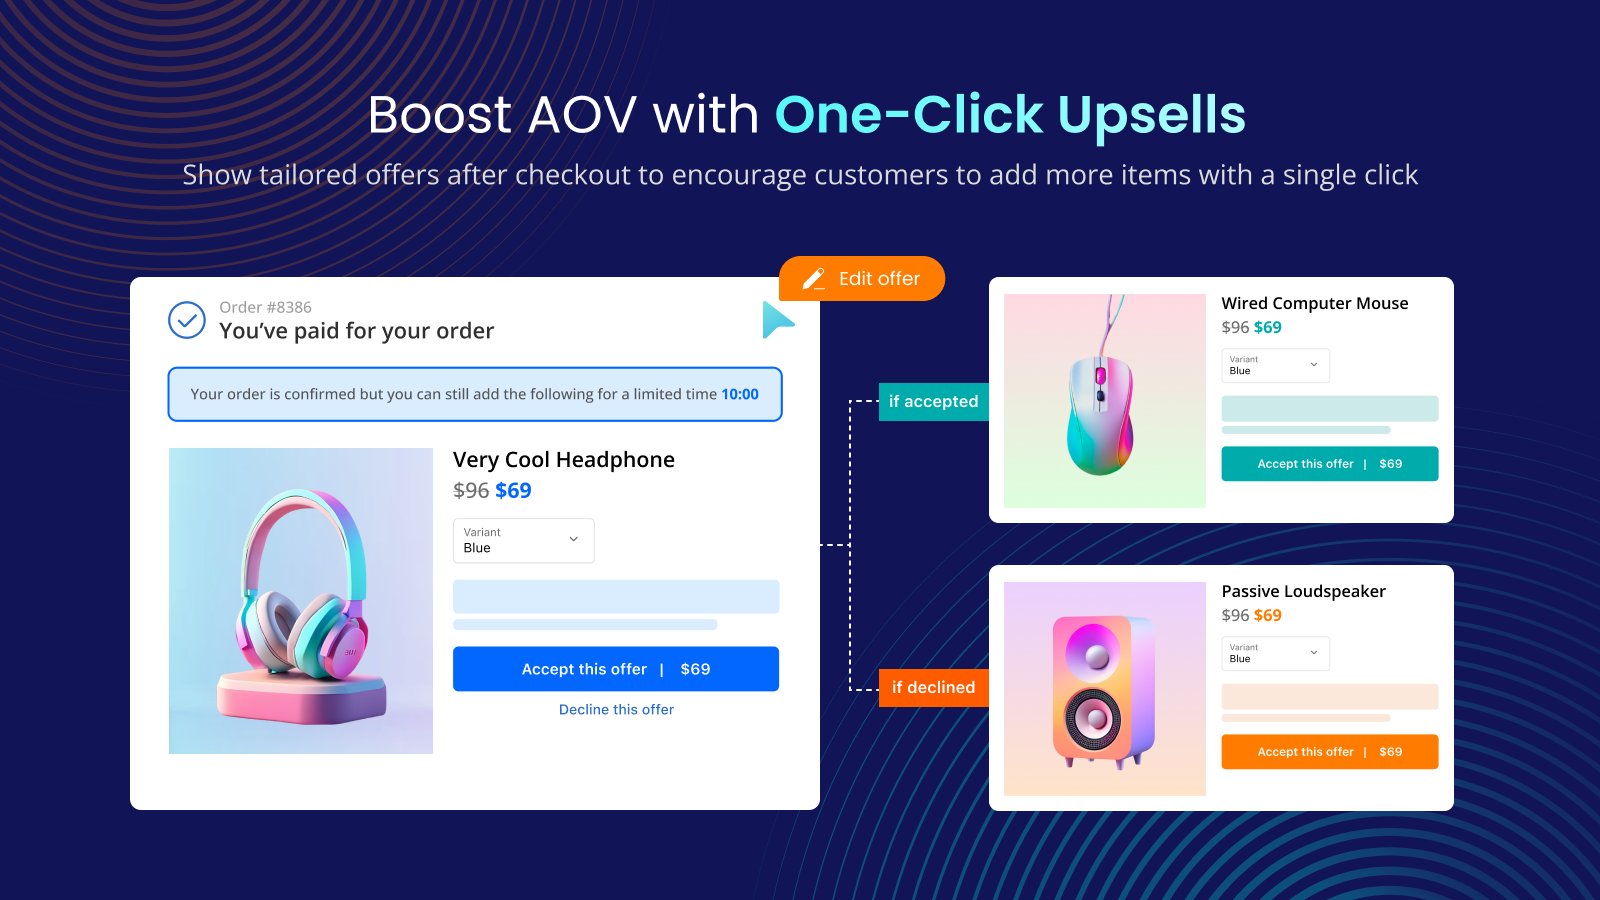
- One offer. A single relevant product or add-on. If you already run a post-purchase page offer, make this block lighter (a reorder prompt or a related accessory) so the customer does not feel pushed through two sales screens.
- One survey question. “How did you hear about us?” with a handful of options and “Other” is enough. Shopify’s editor guide says the thank you page is displayed only one time, so this is your one chance to ask while the purchase is fresh.
- Support and returns. An email address or help link and a one-line returns summary.
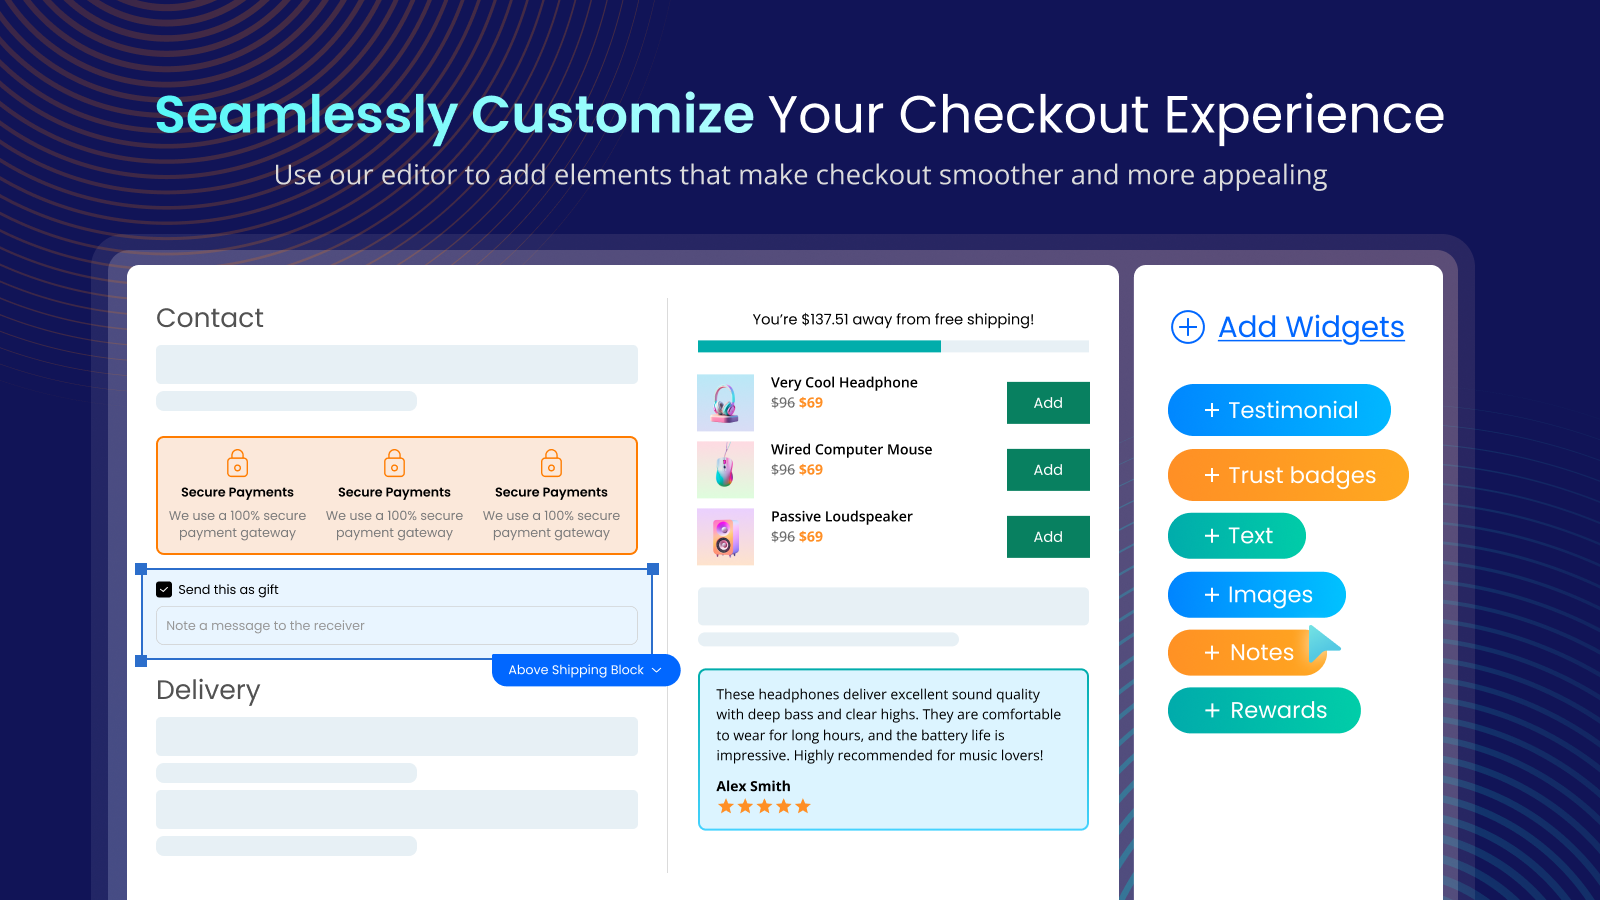
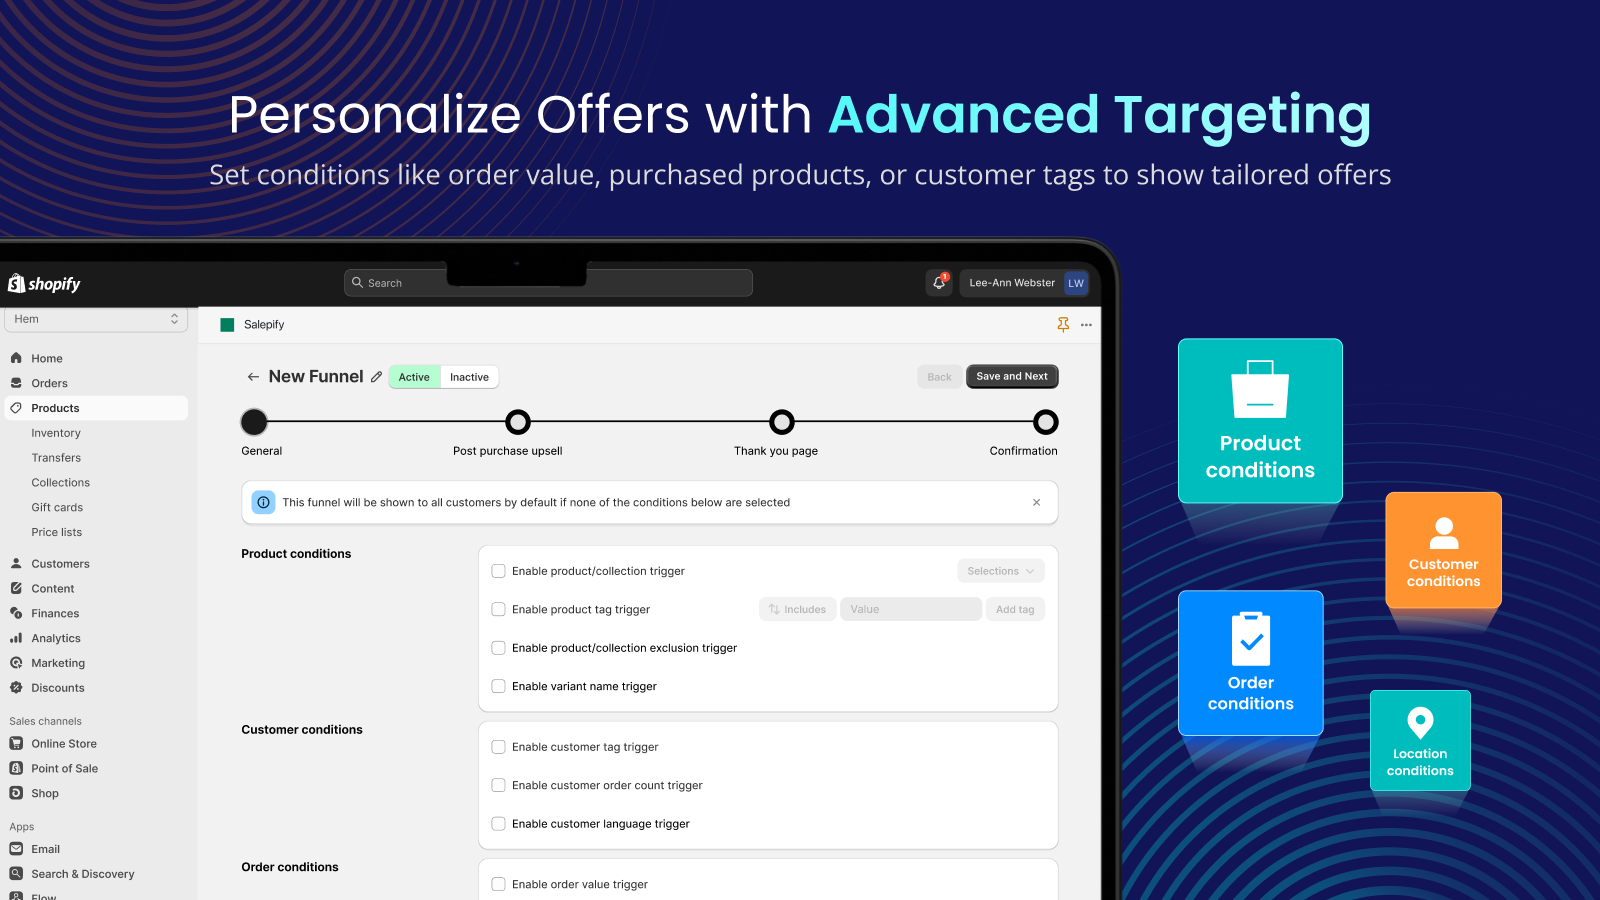
Tek Labs’ [Post Purchase Upsell](https://tek-labs.app/post-purchase-upsell/) covers blocks 3 and 4: its App Store listing describes post-purchase upsell funnels with customer segmentation, thank you page product upsells, and post-purchase surveys with question types including feedback, rating and text. Its listing also notes that the enhanced checkout editor is for Plus stores only, which matches the plan boundary above. Setup steps are in the [user guide](https://document.tek-labs.app/salemate-userguide).
The customer-facing difference between the two pages
The thank you page is shown once. The editor documentation describes the [Order status page as the place that “displays details about the customer’s order,” which customers can visit multiple times](https://help.shopify.com/en/manual/checkout-settings/customize-checkout-configurations/checkout-editor). Customers who are not logged in see limited details (items, order total, discounts and status), while logged-in customers see addresses, payment method, shipping method and tracking number, per Shopify’s order status guide. Plan your order status blocks for the limited view.
Shopify’s order status page also offers an announcement target: [a dismissable announcement at the top of the page](https://shopify.dev/docs/api/customer-account-ui-extensions/latest/targets/order-status). That is a good spot for something time-sensitive, such as a carrier delay or a holiday cutoff note, instead of a promotional banner.
What to skip
| Skip | Why |
|---|---|
| — | — |
| A second offer stacked under a post-purchase offer | Two sales screens back to back; the customer has just paid and wants confirmation |
| A newsletter popup on top of the confirmation | The order confirmation is the point of the page, and customers who opted in at checkout are already on your list |
| Long forms | The page is shown once, so friction means lost answers |
| Next-order discount codes that undercut your own offer | You are paying for a repeat purchase you may have gotten anyway; price it before you do it |
| Countdown timers | A page that shows once has no real deadline to count down to |
| Duplicate tracking tags in body content | Use pixels; fewer tags means fewer double-counted purchases |
| Account creation as the main call to action | Baymard suggests considering delayed account creation at this step, but as a small prompt, not the headline |
A worked example: pricing one thank you page offer
This is a hypothetical store. Replace each figure with your own.
The store gets 1,000 orders a month. Seven hundred are eligible for a post-purchase or thank you offer (the rest paid with a wallet or another method the page does not support). The add-on is a $19.00 accessory with a 10 percent offer discount, so the price is $17.10. Costs: product cost $6.00, payment fee of 2.9 percent plus $0.30 (an assumption; $0.80 on this amount), and $1.20 of extra shipping cost because it ships in the same parcel.
Contribution per accepted offer: $17.10 – $6.00 – $0.80 – $1.20 = $9.10.
| Take rate on eligible orders | Orders per month | Extra contribution per month |
|---|---|---|
| — | — | — |
| 1% | 7 | $63.70 |
| 3% | 21 | $191.10 |
| 5% | 35 | $318.50 |
Each point of take rate is worth $63.70 a month in this example. That number tells you whether the block deserves prime position and how much build effort it can justify: at a 3 percent take rate the offer adds about $191 a month, so test a configurable offer before commissioning anything bespoke. The pricing method (cost stack, floor, and break-even) is the same one we use in the [bundle pricing worked example](https://tek-labs.app/bundle-pricing-margin-worked-example/), and a wider survey of cross-sell tools is in our [roundup of cross-selling and upselling apps](https://tek-labs.app/shopify-apps-to-supercharge-cross-selling-upselling/).
Now the survey side. If 20 percent of the 1,000 buyers answer a “How did you hear about us?” question, that is 200 answers a month. That is enough to compare the shares of broad channels (search, social, referrals, podcasts) and spot anything that deviates sharply from what your analytics say. Keep the options short and rotate their order so the first option does not collect extra votes.
How to measure whether a block earns its place
Every block you add takes attention from every other block, so give each one a number to hit before you keep it. The table below pairs each block with a metric you can read from Shopify and your own tools, and a question to ask at review time. None of these targets are industry benchmarks; set them from your own first month of data.
| Block | Metric to watch | Question at review |
|---|---|---|
| — | — | — |
| Delivery and tracking link | Support tickets asking “where is my order” per 100 orders | Did the count fall after the order status link moved up? |
| Offer | Take rate on eligible orders, and contribution per accepted offer | Does the offer still clear your cost stack after discounts and shipping? |
| Survey | Response rate and share of “Other” answers | Do the options cover what people actually say? |
| Support and returns | Returns-policy questions by email | Is the one-line summary answering them? |
| Pixels | Shopify orders versus ad platform purchases | Is exactly one purchase recorded per order? |
Review once after two weeks and again after a full month. Run one change at a time, because a thank you page has few visits and mixed changes cannot be separated afterward. If you change the offer and the survey in the same week and your take rate moves, you will not know which edit did it.
Mobile deserves the first look. Check what share of your orders come from phones in your analytics; if it is large, a thank you page with five stacked blocks gets long on a small screen. In the editor, switch the preview to mobile before you decide on the order of blocks, and cut a block rather than shrink all of them. The confirmation and delivery information should be visible without scrolling far; the offer and the survey can sit below it.
How to set it up: a six-step checklist
- Confirm the upgrade. In your Checkout settings, check that your store shows the new Thank you and Order status pages. Shopify’s guide lists five steps: review the guide, review and manage compatible apps, review incompatible apps, replace additional scripts customizations, and publish the new pages.
- Read your old additional scripts. They are view-only but readable. List each tag and what it did (conversion pixel, review request, banner).
- Map each item with the table above: tracking to pixels, visible content to blocks.
- Open the checkout and accounts editor and use the page selector to switch between the thank you and order status pages. Add blocks from the Apps tab.
- Place blocks in the five-block order, then preview on mobile first.
- Place a real test order and check both pages, plus your ad platform and analytics for exactly one purchase event.
Common mistakes
- Assuming a Plus feature is a thank you page feature. Item upsells inside the checkout steps are Plus only. Thank you and order status page apps are available on all plans.
- Putting the only copy of tracking info on the thank you page. It displays once. Use the order status page and email.
- Leaving old additional scripts unreviewed. They are view-only now, and script tags no longer run on the order status page for non-Plus stores.
- Counting purchases twice. Post-purchase flows move where `checkout_completed` fires. Compare platform purchases to Shopify orders.
- Judging post-purchase results on all orders. Wallet and other unsupported payments do not see the page.
- Stacking offers. Thank you page offers should not repeat what the post-purchase page just showed.
Frequently Asked Questions
Can I customize the Shopify thank you page without Shopify Plus?
Yes. Shopify’s help center says eligible apps that customize the thank you and order status pages are available on any plan, and you place their blocks in the checkout and accounts editor. Customizing the information, shipping and payment steps is limited to Plus.
What replaced additional scripts on the thank you page?
App blocks replace visible content, and app pixels or custom pixels replace tracking. Shopify made the additional scripts section view-only on August 28, 2025, and script tags stopped running on the order status page for non-Plus stores on August 26, 2026.
Can an app add a product to the order from the thank you page?
Not directly. Shopify says there is no support for APIs that directly mutate an order from a UI extension. Adding an item to a paid order is the job of the post-purchase page, which has its own limits (three offers, $0.50 minimum, Online Store channel, no wallets).
What is the difference between the post-purchase page and the thank you page?
The post-purchase page comes after the order is confirmed and before the thank you page, and it can add items to the order. The thank you page comes last and is shown once, and its blocks cannot change the order.
Where should tracking information go?
On the order status page and in the confirmation email. The thank you page is shown once, while the order status page can be revisited and shows shipment updates for supported carriers.